
Greetings to all Kutsurogi Friends!
This is Karen, the newest addition to Team Takaokaya. Alongside Nanako-san, I’ll be helping fans of Kutsurogi (the Japanese Art of Relaxation) from all over the world to get hold of their own Kangu (relaxation tool). Since I speak French and Indonesian on top of English, soon, you will be able to drop your inquiries in those languages too.
Why not now, you might ask? Well, I am still undergoing training to learn all about Takaokaya products so that I too can be a master in Kutsurogi, and provide everyone with the best experience in relaxing!
As part of my training recently, I got to experience first-hand in how to make an Ojami. To start, I first must choose the fabrics that I wanted to use for my Ojami. I had a lot of fun mixing and matching fabrics of different colours and patterns. It was a tough decision to pick my favourite combination, but I managed to in the end. I chose Shabon Fuyu and Satozakura because I think pastel colours are very cute.
Once the pattern is cut, the sewing process is next. I’ve never used a sewing machine before so I was very excited to try working on one! As there are specific ways and angles to sew the fabrics together in order to achieve the patented shape of the Ojami, which is really complicated, I once again had to engage the help of our expert craftswoman. As for me, I had it easy this time. I only did the sewing for parts which require only a straight line.

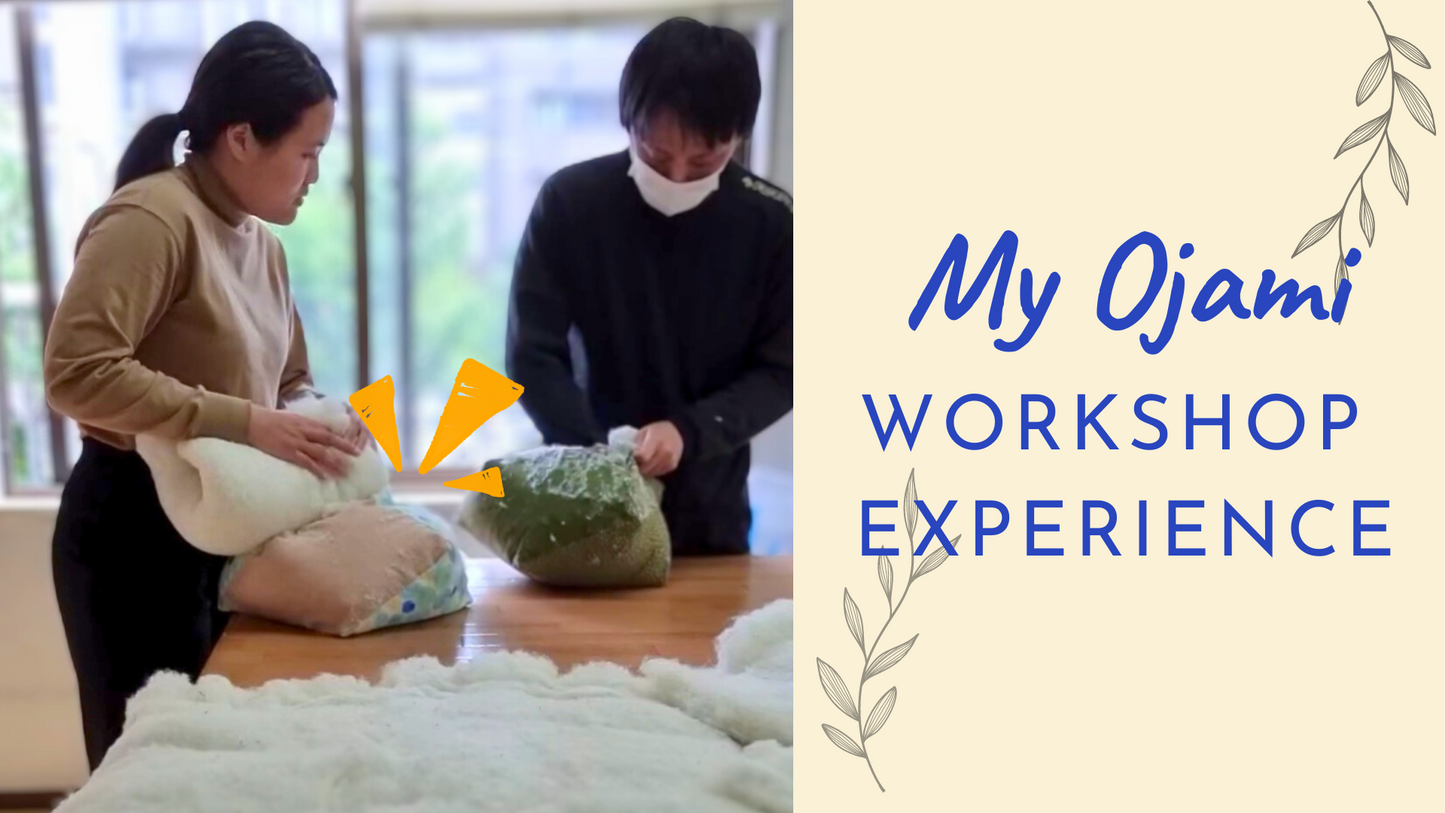
After the sewing is done, we are on to stuffing the Ojami! When I first saw the amount of cotton in front of me, I thought I was going to do stuffing more than one Ojami. I was shocked when I learnt that the amount of cotton that was in front of me, was all for my one Ojami! It didn’t look like all that cotton would fit into that Ojami casing but I guess I really have a lot of learning to do!
In order to stuff all that cotton into the casing, I first learnt how to rip a cotton roll. I find that process very satisfying and therapeutic because it felt like I was separating fluffy clouds! After gathering the required amount of cotton, I had to pile them into many layers before folding them and then stuff them into the casing. I had to repeat the process a few times before my plump Ojami took shape, and now it’s finally ready for the finishing process.
I had to hand-stitch the closing of the Ojami casing to keep all the cotton stuffing from bursting out. It was a difficult stitch to do because it has to be hidden. Being an inexperienced seamstress, it took me almost 1 hour to do what the experts can do in 10 minutes or less.
After the Ojami is stitched close, it is now time to add the finishing touch – the Toji. To do so, a very long needle is used to go through from one end of the Ojami to the other. A tremendous amount of strength is required to pierce through the cotton stuffing inside the Ojami. Not only that, but you would also have to aim at specific points for the needle to come out through the other end.
The Toji is not just an ordinary knot with tassels. The threads have to be placed at "designated spots" before being tied into a bagel-shaped knot, to hold the cotton stuffing in place. It was very challenging for a first-timer like me to make such a small intricate thing.
This Ojami-making workshop experience has been both eye-opening and enriching for me. It not only helped me understand the production process, but it also helped me to appreciate the value of our craftsmen’s skills and hard work in producing artisanal handmade products. I am so happy that I too finally own a piece of kangu and can now enjoy kutsurogi at home!
